How to Weave In Yarn Ends
Secure knitting and crochet tails within the stitch structure, check both faces and preserve the fabric’s stretch.
In this guide
Weaving in ends secures yarn tails within the fabric instead of leaving loose ends or bulky knots. Choose a route that follows solid stitch structure, preserves stretch and stays discreet on the visible face. This guide gives a reverse-side knitting route and a dense-crochet route; it does not promise one invisible finish for every yarn or open lace fabric.
Prepare before cutting anything shorter
You need a blunt yarn needle with an eye that accepts the yarn, sharp scissors and good light. Work with enough tail to thread and travel through the fabric; about 15 cm / 6 inches is a useful practice allowance, with more for bulky, slippery or awkward yarn. Leave cast-on, bind-off, color-change and ring tails until they have all been checked. If a tail will be used for seaming, do the seam first or reserve enough yarn for it.
Choose a route on the wrong side
Lay the fabric at its normal relaxed size. Identify the side that will face inward; for a reversible item, choose the least visible route and inspect both faces. Match the tail to its color section so dark yarn does not cross behind pale stitches. Thread the needle without splitting the strand unintentionally. Tails at a join must secure both yarn supplies; do not just trim the old strand where the new one begins.
Reverse-side knitting route
Find the purl bumps
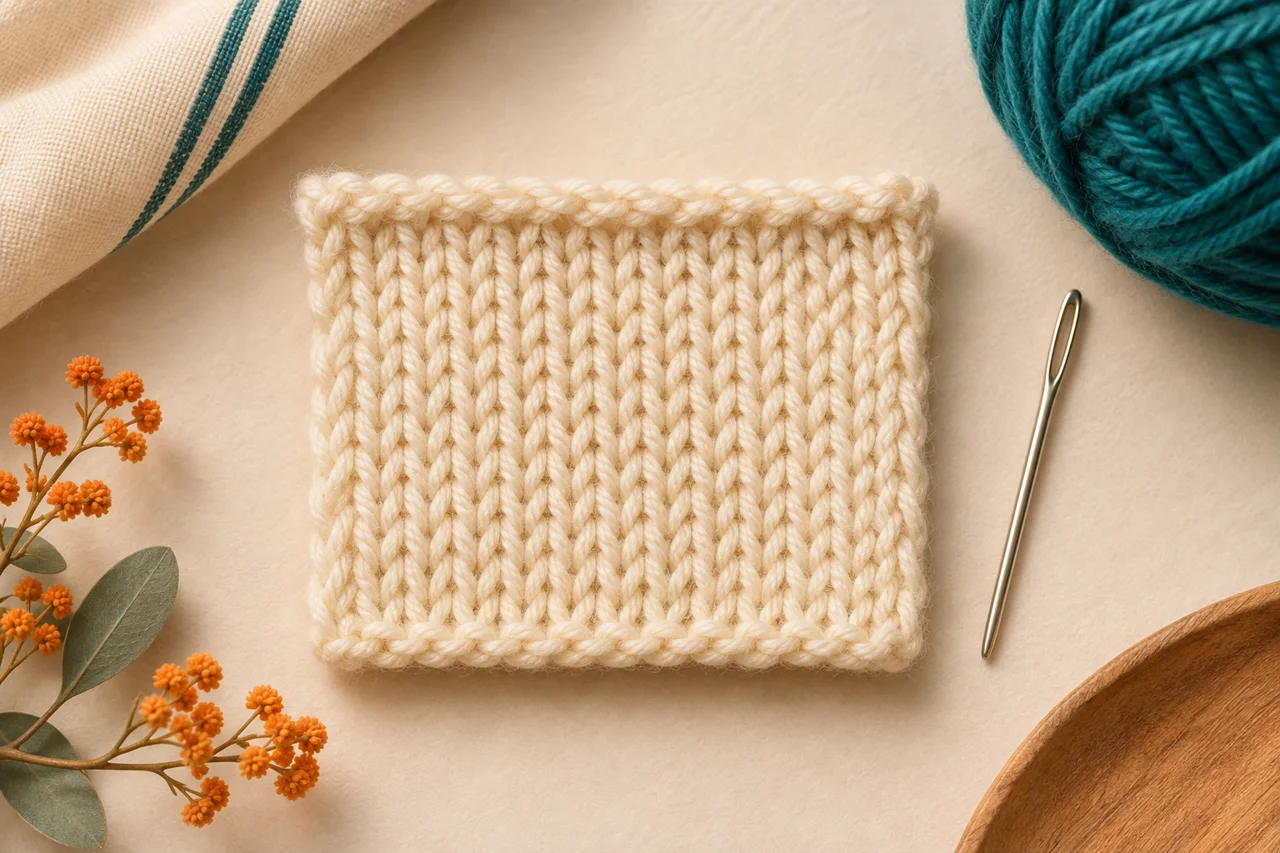
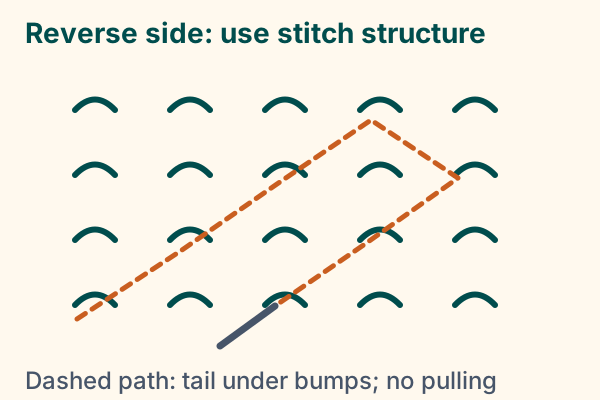
With the reverse of plain stockinette facing you, identify the raised purl bumps. Take the threaded needle beneath a series of bumps on a diagonal. Pick up stitch structure without piercing all the way to the front face. Advance a short distance and inspect the other side.
Settle the yarn
Draw the tail through until it rests within the path. Spread the fabric gently to its ordinary width so the extra yarn has the same ease as its neighbors. If the route makes a ridge or pucker, withdraw the needle and try a less crowded path.
Change direction
Turn into a nearby parallel route and travel back through different bumps. Do not simply slide back through the identical empty tunnel and undo the first pass. A change of direction adds resistance, but the required route depends on fiber and construction.
Test before trimming
Flex the fabric as it will be used and examine both faces. Leave the tail untrimmed while you check that the join remains sound. After the permitted wash and complete drying, inspect again and trim only the excess that is safely beyond the woven route.
Dense crochet: use the stitch bases
On the wrong side of single crochet or another solid fabric, slide the needle through several adjacent stitch bases without surfacing on the front. Relax the fabric, turn into a nearby row or different base route and weave back. Do not drag the tail through open chain spaces where it will be visible or easily snagged. At a magic ring, secure the ring tail through surrounding bases after closing it; a tightly pulled ring still needs its end secured.
Slippery, bulky and open fabrics need judgment
Smooth yarn may work loose if the path is very short; test a longer route and additional direction changes on a swatch. Bulky yarn can make an obvious lump when doubled through one crowded section; distribute its route instead of packing all tails into the same place. In open lace, follow a solid motif or an appropriate duplicate-stitch route rather than bridging a hole. If there is no discreet secure route, get fabric-specific finishing advice before cutting close.
Fix a visible or tight finish
If a new line shows on the front, withdraw the tail from that segment and choose a shallower wrong-side path or follow the original stitch route more closely. If the edge shrinks, loosen the woven tail while spreading the fabric. A trimmed tail that is already too short may need careful threading with a smaller tool and additional securing; there is no universal rescue that makes every short end safe. Avoid treating an adhesive or a knot as an automatic substitute for a sound woven route.
Finish one practice tail first, then inspect and wash the sample before processing a whole project. See blocking knitting for checking the fabric after care. A secure finish should hold without a new lump, pucker or loss of normal stretch.
Plan with your gauge.
Estimate cast-on stitches and compare project width using your finished swatch.
Explore the planning toolSources & editorial notes
- Purl Soho: Weaving In Your Ends — https://www.purlsoho.com/create/weaving-in-your-ends/
- Craft Yarn Council: Single Crochet — https://www.craftyarncouncil.com/node/461
- Editorial review: primary sources accessed 13 November 2026; original practice examples and simplified schematics. No independent hands-on test or named expert review is claimed.