How to Bind Off Knitting
Learn the basic knitwise bind-off, identify the finished chain edge and keep the right count on partial bind-offs.
In this guide
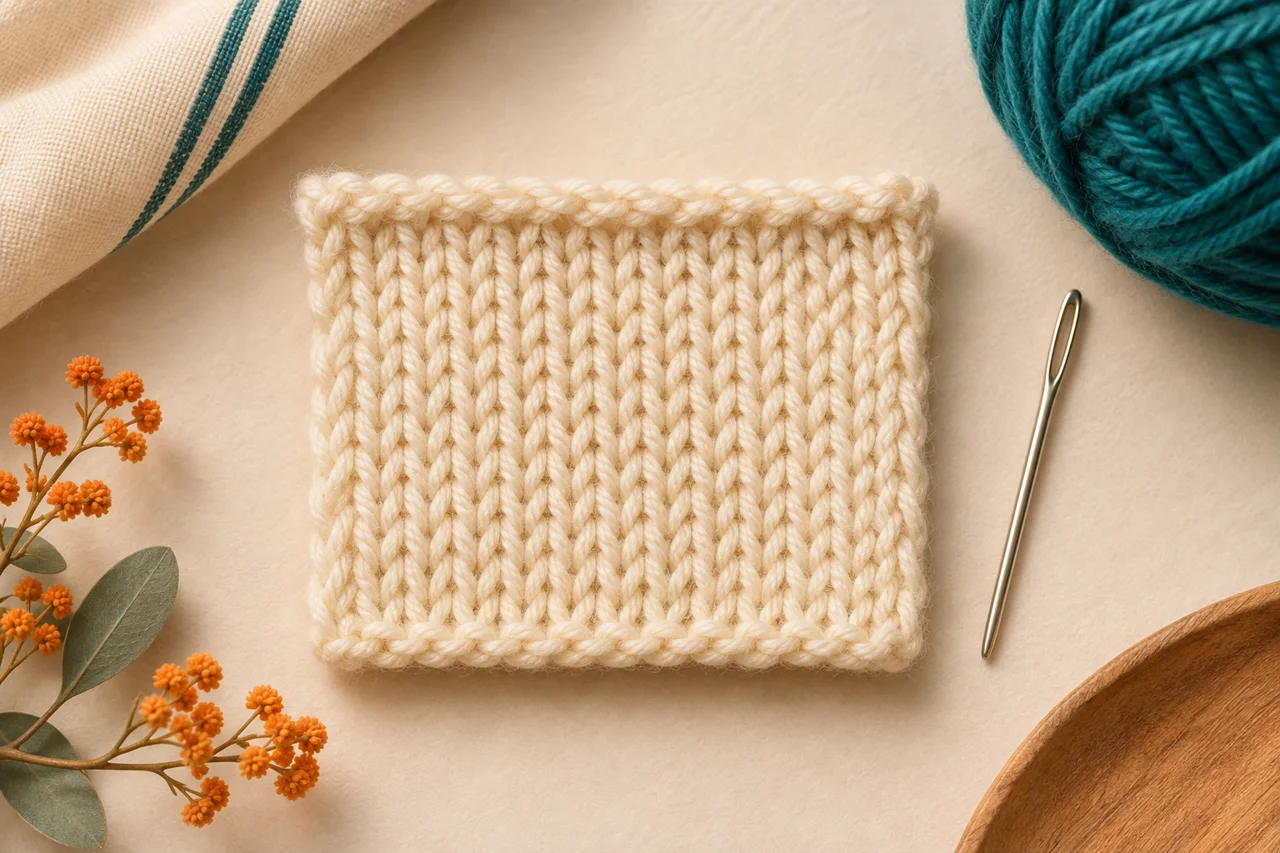
The basic knitwise bind-off secures live knitting into a chain edge: knit two stitches, lift the older loop over the newer one, then keep knitting one and passing one over. This lesson finishes a flat practice square. Ribbed, tubular and especially elastic edges may need a different bind-off specified by the pattern.
Before taking stitches off the needle
Know the knit stitch and how to recognize live loops. Use a small finished practice swatch on its needles, scissors and a blunt yarn needle. Check that the work has reached the intended row and that the stitch count is right. If the pattern asks you to bind off in pattern, maintain knit and purl structure as instructed; the all-knit sample here does not teach that variation. Keep working yarn attached to the ball until only the final loop remains.
Secure the edge one stitch at a time
Make two loops on the right needle
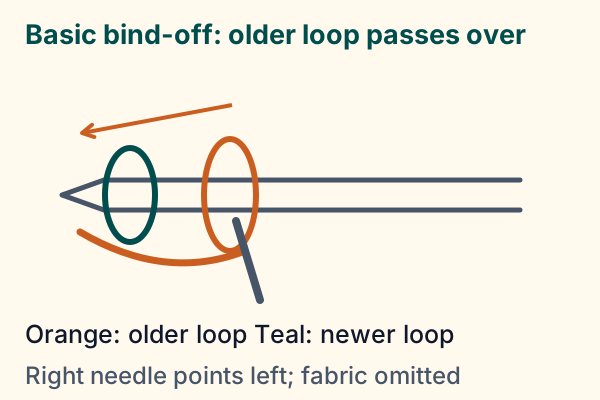
At the start of the bind-off row, knit the first two stitches normally. There are two loops on the right needle: the older first stitch farther from its tip, and the newer second stitch nearer the tip.
Pass the older loop over
Put the left needle tip into the older loop on the right needle. Lift it up and over the newer loop, then over the right needle tip and off. Leave the newer loop on the right needle. One stitch has been bound off, and one live loop remains there.
Knit one, then pass one
Knit the next stitch from the left needle. Again lift the older of the two right-needle loops over the newer one and off the tip. Repeat this pair of actions across the row. Do not try to knit two new stitches after every pass-over.
Secure the last loop
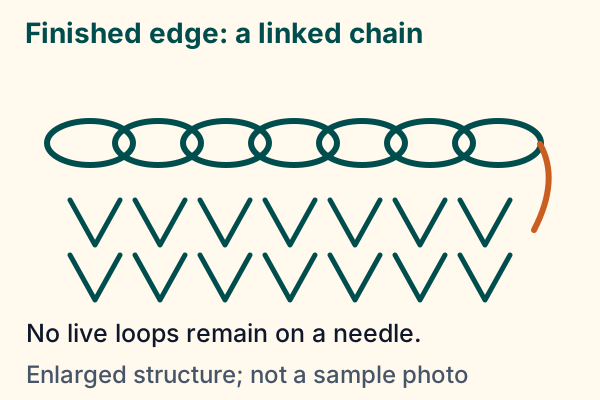
When the left needle is empty and one loop remains on the right, cut the working yarn with enough tail for weaving or seaming. Enlarge the final loop and draw the cut end through it. Tighten gently at the edge, then weave the end into the fabric without pulling the edge shorter.
Count bound-off stitches, not knitting motions
The first two knit stitches produce only one bind-off when the older loop passes over. After that, each knit-one/pass-one pair removes one more. If a shoulder instruction says bind off three stitches, stop after three pass-overs: one live loop remains on the right needle, and it belongs to the stitches still in use. A whole-row bind-off ends by securing that final loop; a partial bind-off continues the row without cutting yarn.
Keep the edge usable
After several pass-overs, spread the new edge to the normal fabric width. The loops should slide on the full needle shaft. If they sit tightly around the tip, they become smaller and the edge may cinch. Ease the yarn feed and remake the tight section. A larger needle is one possible experiment, but it does not make every basic bind-off suitable for a sock cuff or neckline that must stretch widely.
Recover before finishing
If you passed the newer loop over the older one, stop and inspect the edge; the remaining loop position will differ. Undo the last action carefully, recovering each live loop before it runs, or get help on a complex fabric. If a loop slips free, secure it with a marker first. A dropped bind-off loop can undo earlier links, so do not pull the yarn tail until you understand which loops are still live.
Let the edge relax, check its width against the rest of the swatch, then block as the yarn permits. Blocking can settle unevenness but should not be relied on to repair an edge that cannot stretch enough for its intended opening.
Plan with your gauge.
Estimate cast-on stitches and compare project width using your finished swatch.
Explore the planning toolSources & editorial notes
- Lion Brand: How to Knit for Beginners — https://www.lionbrand.com/pages/how-to-knit
- Editorial review: primary sources accessed 13 November 2026; original practice examples and simplified schematics. No independent hands-on test or named expert review is claimed.