How to Crochet a Magic Ring
Start six US single crochets on an adjustable ring, tighten the center and secure the tail.
In this guide
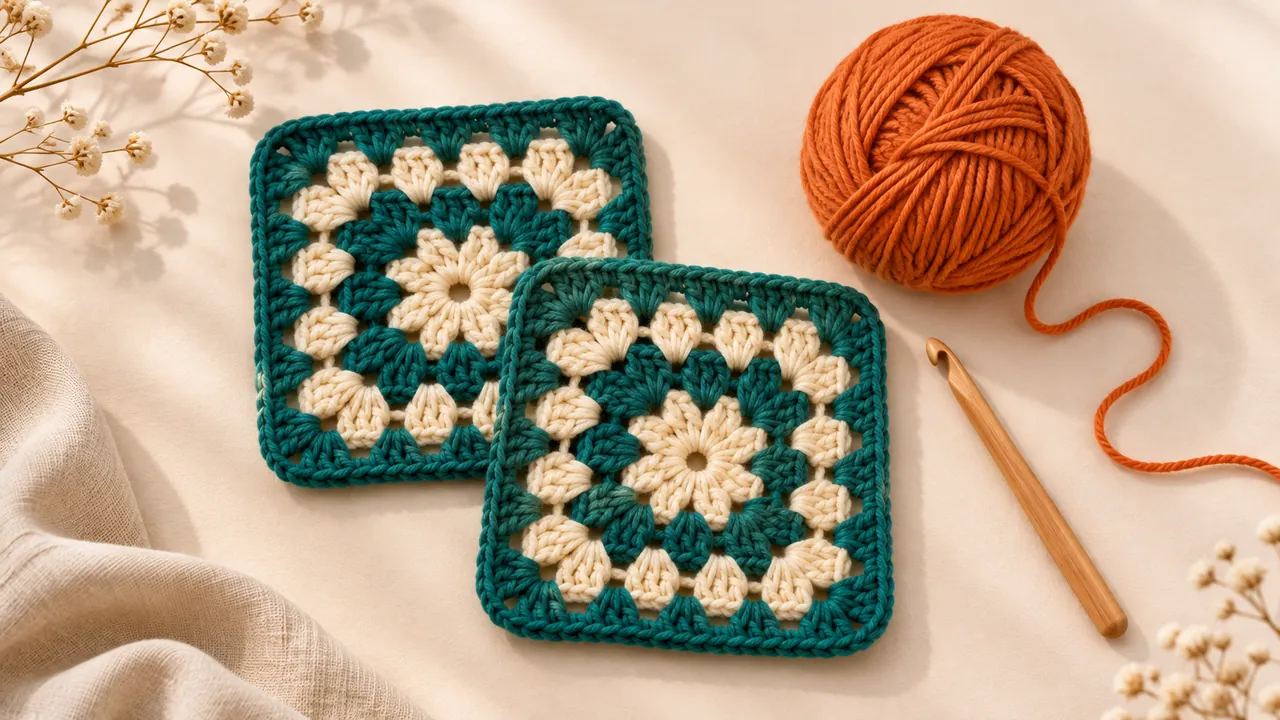
A crochet magic ring starts a round on an adjustable yarn loop. You crochet around the loop and its tail, then pull the tail to reduce the center opening. This right-handed lesson makes six US single crochet stitches in a continuous-round start. It is different from magic-loop knitting, which uses a long circular needle cable.
Prepare the yarn and tools
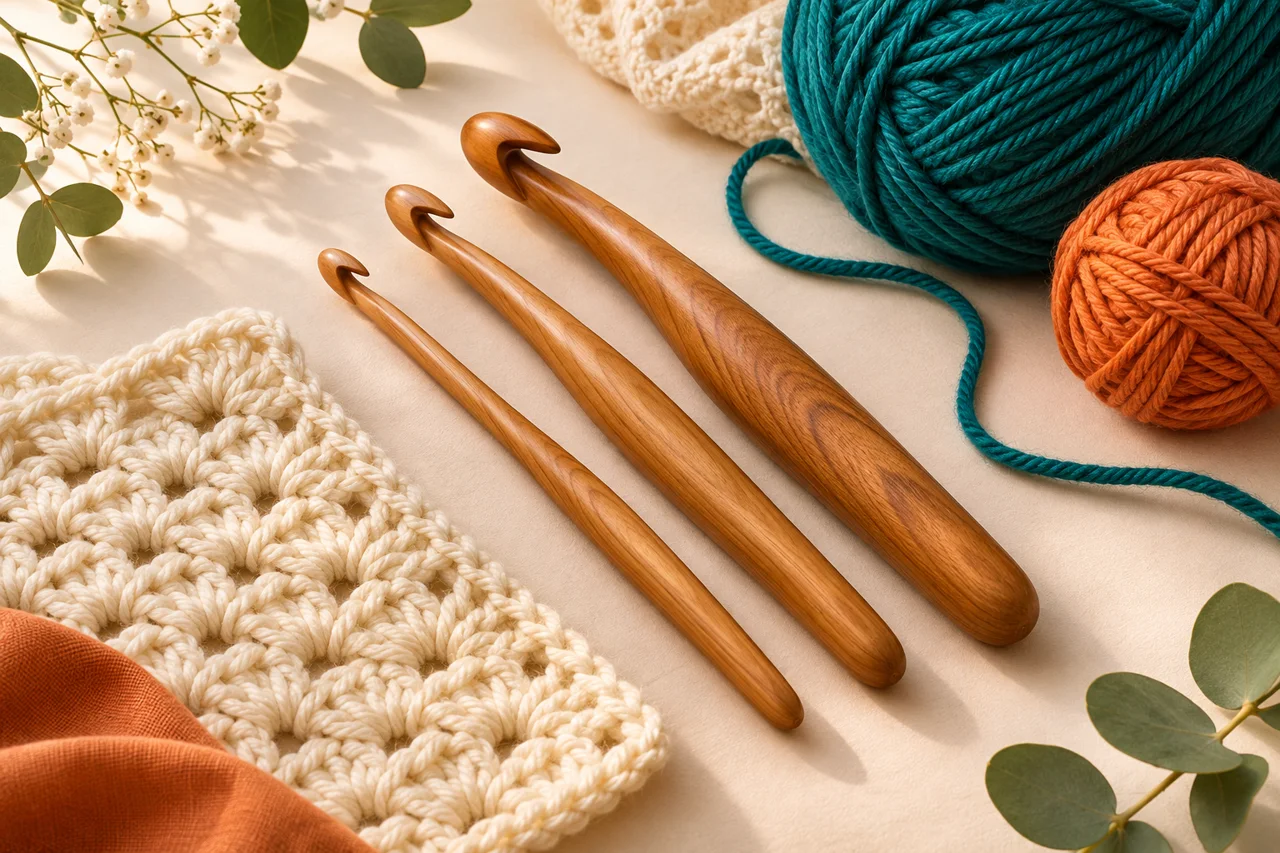
Know how to chain and single crochet before attempting the ring. Choose smooth light-colored practice yarn, a matching hook, a locking marker, scissors and a blunt yarn needle. Leave about 15 cm / 6 inches of tail as a practice starting allowance, and more if you need it for threading or securing a slippery yarn. Avoid chenille for the first attempt: a strand that will not slide or breaks when pulled makes diagnosis harder.
Build the adjustable loop
Cross the yarn
Lay the tail across your left palm, and bring the ball strand around to form one loose circle. Let the two strands overlap near the top to form a crossing. Pinch the crossing with your left thumb and finger so it cannot unwind. Keep track of which end leads to the ball.
Draw up the working yarn
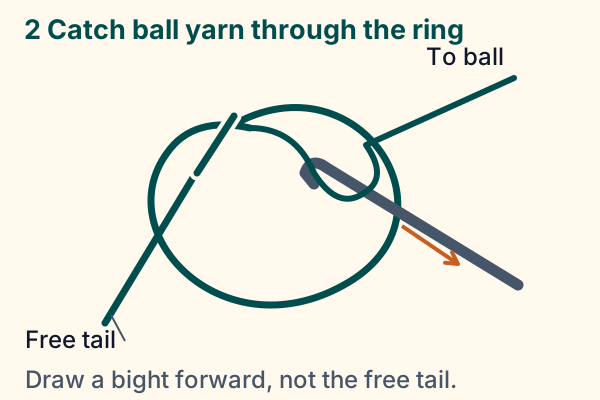
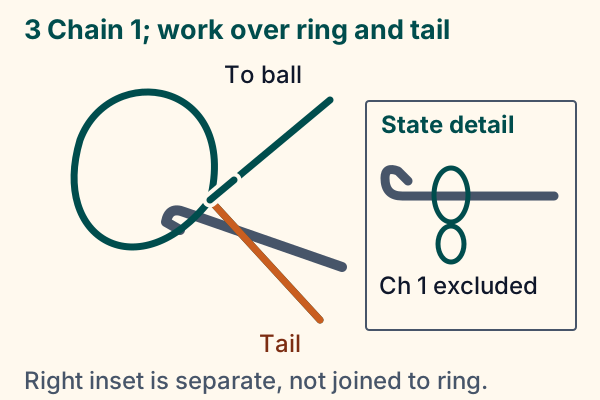
Insert the hook through the circle from front to back, catch the ball strand and pull a loop back through the circle. Keep the ring open with the left fingers. Yarn over with the ball strand and pull through the hook loop to make ch 1. This securing chain is not one of the six sc.
Crochet around ring and tail
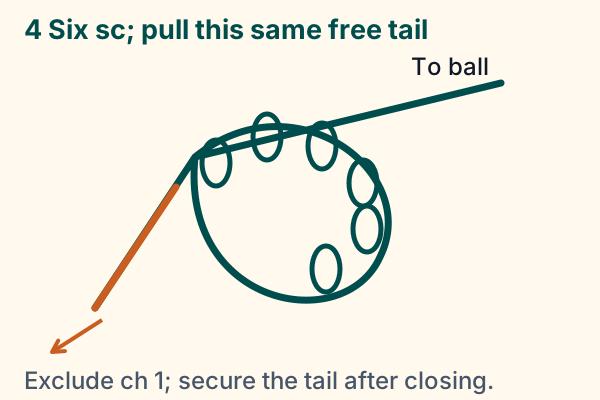
Insert the hook into the large center opening, under the ring strand and alongside the tail. Pull up the working yarn, then yarn over and pull through both hook loops. Repeat for six sc total, enclosing both ring and tail within their bases. Mark the top V of the first sc as soon as it is made.
Close and continue
Count six sc tops, then hold the stitches and pull the free tail gradually. The ring should shrink like a drawstring. For continuous rounds, make the next pattern stitch into the marked first sc; move the marker to the first stitch of the new round. Do not join with a slip stitch unless the pattern asks for joined rounds.

If the center will not close
Stop pulling hard. Confirm that you are pulling the free tail rather than yarn leading to the ball. Check that the stitches were worked around both strands, and that the initial chain did not become a knot that locks the ring. Loosen and inspect the first few stitches; if the strand route is unclear, remake the ring rather than forcing it. Some delicate, bulky or highly textured yarns are poor candidates for repeated tightening. A pattern-approved chain start can be easier, but it leaves a different center structure.
Secure the ring as part of finishing
A closed hole is not proof that the end is secured. After a few rounds, thread the tail through stitch bases on the wrong side, changing direction without distorting the center. Leave the full tail until you have checked that it remains closed during gentle handling and label-permitted washing. For objects intended for children or frequent laundering, follow the pattern’s construction and finishing requirements; the ring alone does not establish product safety. This lesson does not teach shaping the rest of an amigurumi object.
Start with your swatch.
Estimate starting chains and fit them to a stitch-pattern repeat using your measured gauge.
Explore the planning toolSources & editorial notes
- PlanetJune / June Gilbank: How to Crochet a Magic Ring — https://www.planetjune.com/blog/amigurumi-help/how-to-crochet-a-magic-ring/
- Editorial review: primary sources accessed 13 November 2026; original practice examples and simplified schematics. No independent hands-on test or named expert review is claimed.