How to Change Colors in Crochet
Switch yarn on the previous stitch’s final pull-through, then keep stripes and joins relaxed and secure.
In this guide
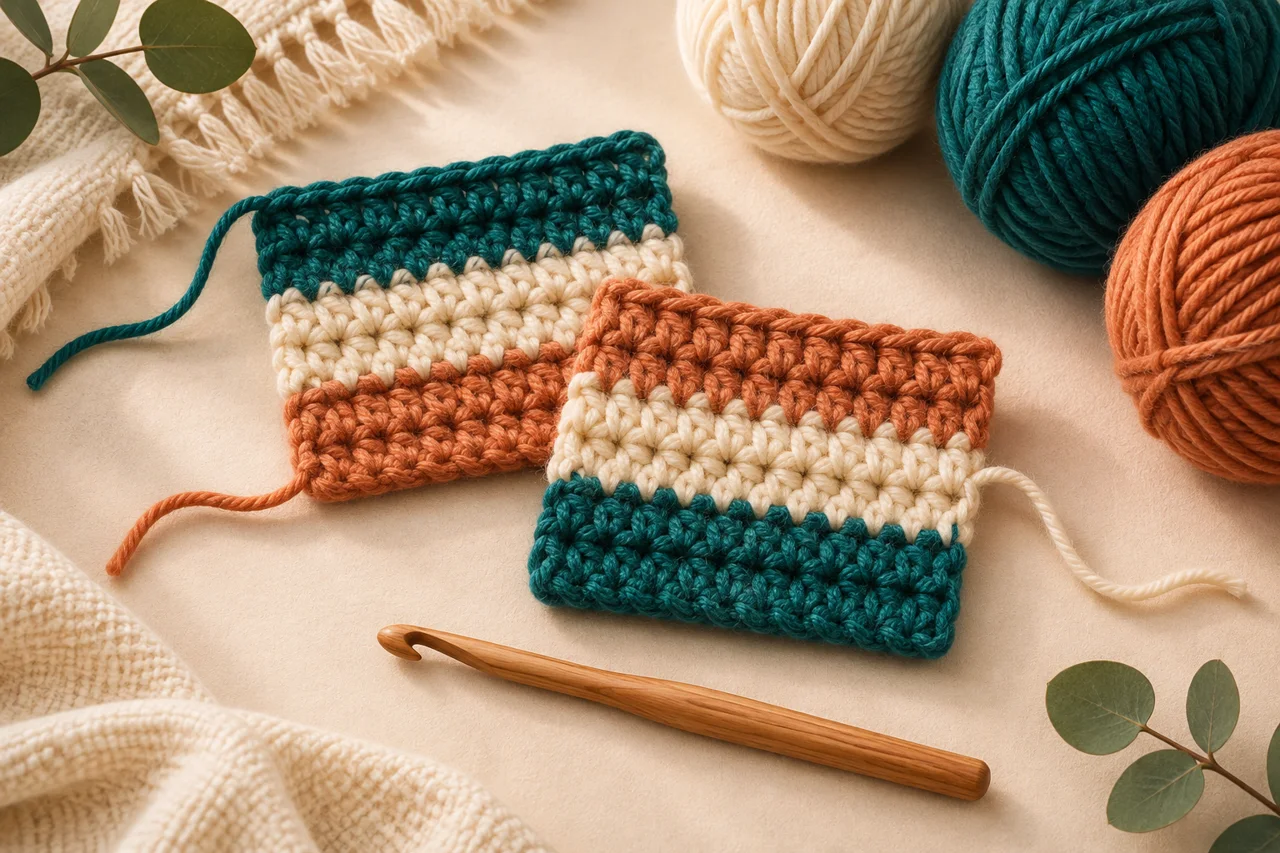
For a clear crochet color change, complete the final pull-through of the previous stitch with the new yarn. The loop left on the hook is ready to begin the next stitch in the new color. This lesson covers US single, half double and double crochet in flat rows; joined rounds and detailed tapestry charts add separate counting decisions.
Prepare a two-color sample
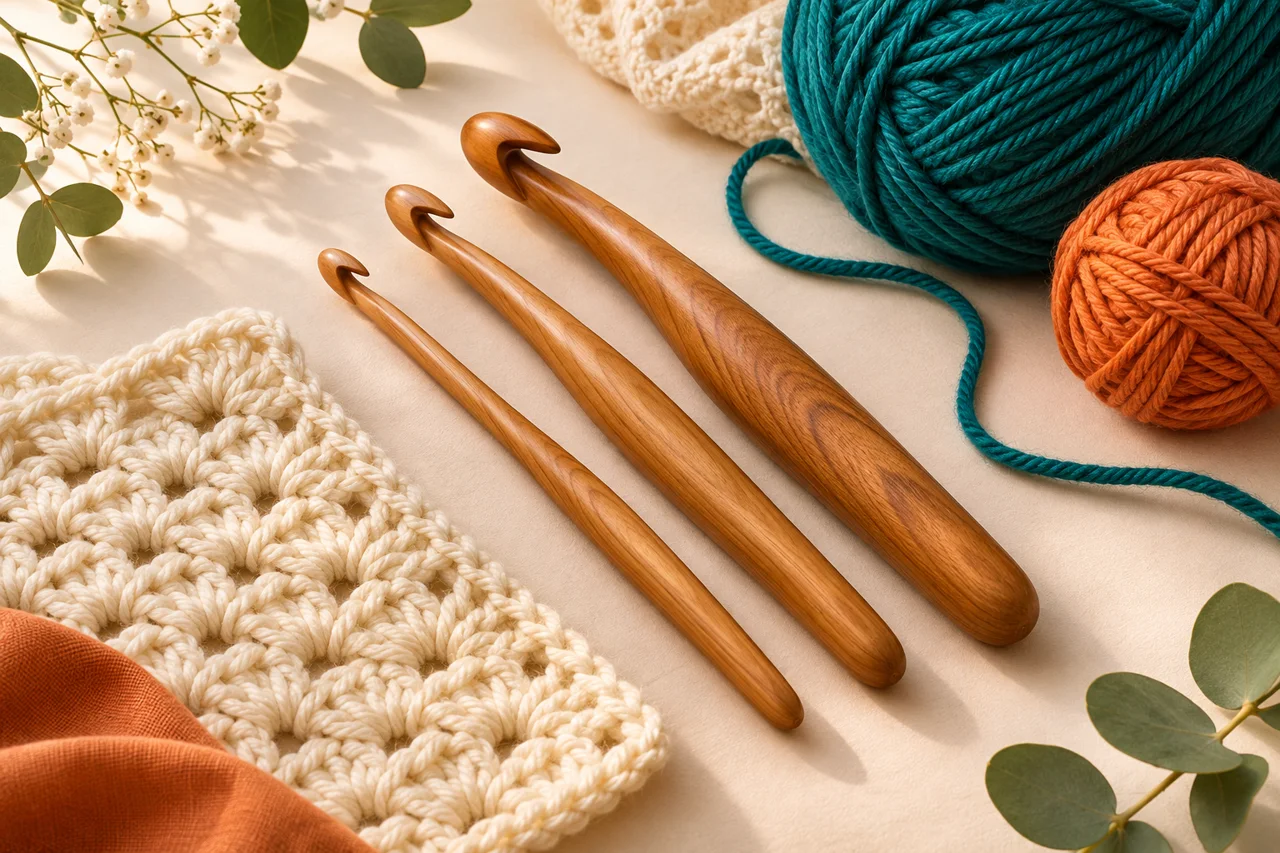
Choose two smooth yarns of the same weight and compatible care requirements, a suitable hook, scissors, a yarn needle and markers. First make a short plain sc sample ten stitches wide. Name the original yarn A and the new yarn B. Leave B a tail long enough to thread and weave securely; about 15 cm / 6 inches is a practice allowance, not a guarantee for every fiber. Keep tails and ball strands separate so you do not accidentally crochet with an end.
Change from A to B in single crochet
Stop before finishing the stitch
Work nine sc in A. On the tenth sc, insert the hook, yarn over with A and pull up a loop. Stop with two A loops on the hook. You have reached the last pull-through, not completed it.
Complete that pull with B
Lay the ball strand of B over the hook, leaving its free tail behind the work. Draw B through both A loops. Release A gently. The completed sc has an A body and B at its top, and one B loop remains on the hook.
Turn or work the next stitch
For a stripe beginning on the next row, ch 1 with B, turn and work ten sc in B using the same uncounted-chain convention. For a mid-row change, work the next stitch immediately in B. Keep the tails behind the fabric rather than treating them as extra stitches.
Settle the join
After several stitches, spread the fabric to its normal width. Adjust the A and B tails only enough to remove a conspicuous loose loop. Leave enough ease for the edge or color boundary to flex; pulling hard can create a permanent pinch.

Where to stop in taller stitches
For hdc, yarn over in A, enter the stitch and pull up a loop in A; three loops remain. Make the final yarn-over in B and draw through all three. For dc, work in A through the first pair of loops; with two loops remaining, make the last yarn-over in B and draw through both. The new yarn finishes the prior stitch, so waiting until the next stitch is already under way changes the placement of the boundary.
Cut, carry or use separate yarn supplies
For a one-time stripe, cut A with a usable weaving tail after the change. For narrow recurring stripes, A may travel up the side if the pattern allows it; let the carried strand follow the edge without drawing it shorter. Frequent changes within a row may use yarn enclosed inside stitches or separate bobbins, but these make different fabrics. Test opacity and stretch before choosing: a dark carried strand can show through pale stitches. There is no universal distance at which every yarn must be carried or cut.
Troubleshoot the boundary
A gap usually needs gentle tail adjustment and secure weaving, not a tightly cinched knot. A pucker means the join or carried strand is too short; undo to the change and leave more ease. An extra stitch often comes from counting the join loop or turning chain as a new stitch. Recount the row and locate both edge markers. A stepped boundary in a continuous spiral is partly caused by the round structure; this flat-row change cannot promise an invisible join in every construction.
Finish for the fabric you made
Weave each tail into its matching-color stitch area where possible, changing direction without pulling the fabric out of shape. Carrying over a tail for a few stitches does not automatically replace weaving. Inspect both faces, then wash the sample as its label permits before trimming close. If you need a specific color block to begin at a chart square, mark that next stitch and perform the final-pull change on the stitch immediately before it.
Start with your swatch.
Estimate starting chains and fit them to a stitch-pattern repeat using your measured gauge.
Explore the planning toolSources & editorial notes
- Lion Brand: How to Change Colors in Crochet — https://www.lionbrand.com/community/blog/change-colors-crochet/
- Craft Yarn Council: Single Crochet — https://www.craftyarncouncil.com/node/461
- Craft Yarn Council/Michaels: Half Double Crochet — https://www.craftyarncouncil.com/files/DiscoverPDFs/032_CHalfDouble.pdf
- Craft Yarn Council: Double Crochet — https://www.craftyarncouncil.com/mar06_dc.html
- Editorial review: primary sources accessed 13 November 2026; original practice examples and simplified schematics. No independent hands-on test or named expert review is claimed.