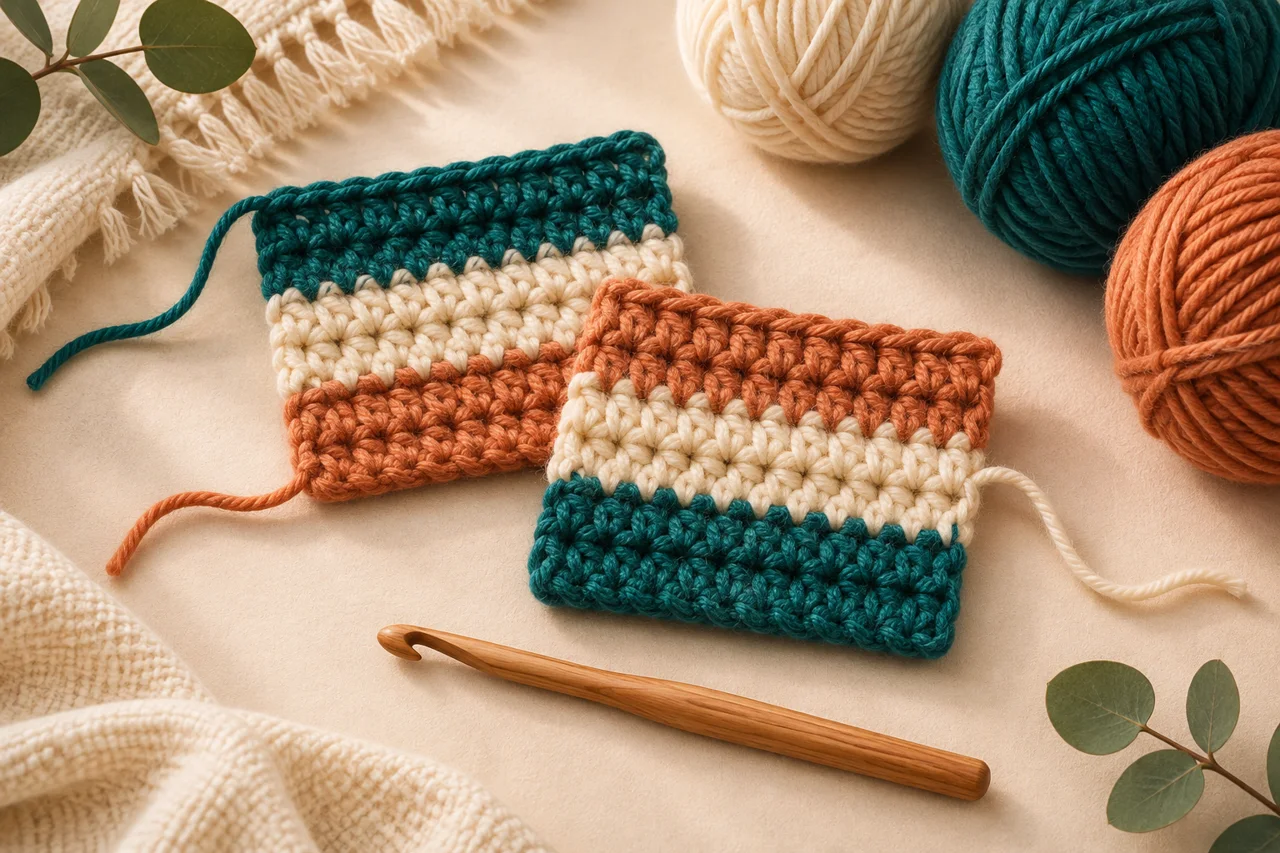
How to Half Double Crochet
Learn US half double crochet with a ten-stitch practice sample, clear loop counts and an explicit turning-chain convention.
In this guide
Half Double Crochet (hdc) is taught here in US terminology; the equivalent name is UK half treble crochet. Work a small flat sample first so you can see the hook motion and keep the same width when turning. A pattern may use a different turning-chain convention; its count controls its edges.
Set up a visible practice sample
You need smooth light-colored yarn, a hook near the label’s suggested size, two locking markers, scissors and a blunt yarn needle. Avoid furry or very dark yarn for the first attempt. Know the slip knot, chain and yarn-over before starting. Hold the hook in whichever grip keeps your hand relaxed, with the working yarn controlled in the other hand. These directions assume a right-handed hook hold.
Count the foundation
Chain 12; start in chain 3 from the hook and make ten actual hdc stitches. The skipped chains provide height and are not counted as stitches in this practice. Place the slip knot on the hook without clamping it tight. Make relaxed chains of similar size; a foundation that is already too tight will pull the bottom edge inward even if later rows are loose.
Make the stitch
Wrap before entering
Starting with one loop on the hook, yarn over once. Insert into the third chain from the hook. Do not include the loop on the hook when locating that chain.
Draw up a loop
Yarn over and pull through the chain only. The original loop, first yarn-over and newly drawn loop give three loops on the hook. Keep them on the shaft so they remain large enough for the next motion.
Pull through all three
Yarn over once more and pull through all three loops in a single motion. One loop remains. Pulling through two and then two changes the stitch into double crochet.

Finish the first row
Continue into each remaining foundation chain. Pause at the end and count the stitch tops from above: each completed stitch has a V. Exclude the skipped foundation chains and the active loop on the hook. Put a marker through the top of the first and last counted stitches. Marking now makes the next row’s edge easier to recognize.
Turn without changing the width
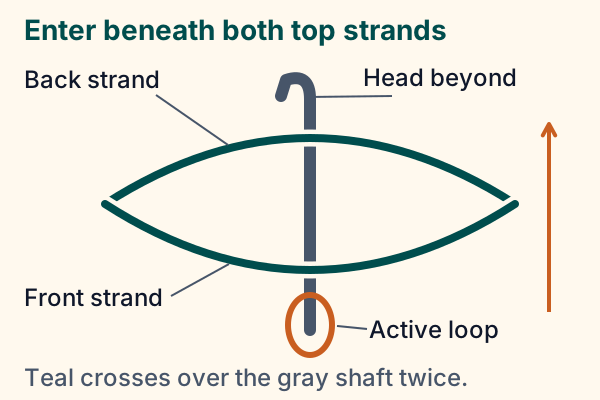
Chain 2 and turn. The turning chain is uncounted in this practice. Make hdc into the first actual stitch directly below the turning chain and into every actual stitch across, including the last one: ten stitches again. For subsequent rows, insert under both strands of the stitch-top V unless the pattern explicitly requests a front-loop or back-loop variation. Move the markers to the newly completed edge stitches.
Read the result and recover
Work four more rows, counting at each edge before turning. The practice should remain ten stitches wide. If the row narrows, check for an overlooked last stitch. If it grows, check for two stitches accidentally worked into one base, or a turning chain mistakenly treated as an extra stitch. Undo to the last correctly counted stitch rather than hiding an edge error with a random increase or decrease.
Finish and assess the fabric
If the hook catches plies, back it out and remake that stitch through the whole strand. If loops will not pass over the hook head, loosen the new loops on the shaft and try a smaller pulling motion. On the last row, cut a tail long enough to thread and weave securely, draw it through the active loop, then weave it into the fabric. Wash the sample only as the label permits. Compare the dry width at top and bottom; even stitch counts can still look tapered while your tension is changing.
Use the crochet gauge calculator after measuring your finished sample. A taller stitch is not an exact height multiple of another stitch; measure each fabric instead of converting row counts by name.
Start with your swatch.
Estimate starting chains and fit them to a stitch-pattern repeat using your measured gauge.
Explore the planning toolSources & editorial notes
- Craft Yarn Council/Michaels: Half Double Crochet — https://www.craftyarncouncil.com/files/DiscoverPDFs/032_CHalfDouble.pdf
- Craft Yarn Council: Crochet Abbreviations and international differences — https://www.craftyarncouncil.com/standards/crochet-abbreviations
- Editorial review: primary sources accessed 13 November 2026; original practice examples and simplified schematics. No independent hands-on test or named expert review is claimed.