Moss Stitch Crochet: Work into Chain Spaces
Make a US moss-stitch sample with clear space placement, repeat counts and both row edges explained.
In this guide
This moss stitch is the US single-crochet-and-chain version, also called linen or granite stitch. After the foundation row, each single crochet goes into a chain space below, making the stitches stagger. The small sample here uses an even foundation chain and a chain-2 edge; do not mix it with a different pattern’s edge convention.
Skills, tools and setup
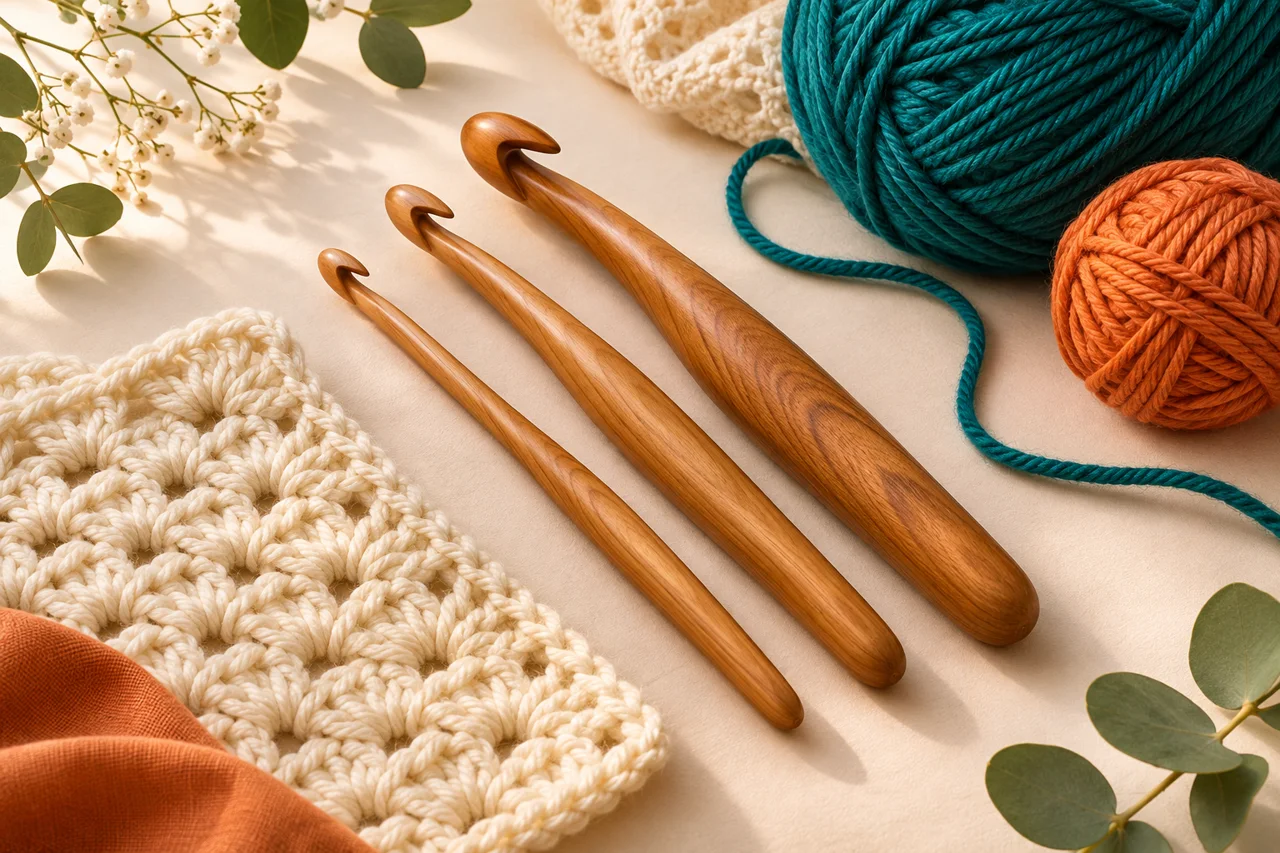
First practise chains and single crochet. Use smooth light yarn, a suitable hook, two markers, scissors and a blunt yarn needle. A single crochet is abbreviated sc; ch means chain; sk means skip. A chain-1 space is the opening underneath a chain, not the two strands forming its top. This is the central distinction to learn before trying color stripes.
Make a twelve-chain sample
Foundation and row one
Chain 12. Make sc in the fourth chain from the hook. Then repeat: ch 1, skip the next chain, sc in the following chain. Work through the final chain. There are five sc and four interior ch-1 spaces, plus the starting edge chain-space.
Begin row two
Chain 2 and turn. Skip the sc immediately below the turning chain. Insert the hook under the first ch-1 arch and work sc into the space. The hook goes through the hole beneath the chain, not through an individual chain strand.
Continue the stagger
Repeat ch 1, skip the next sc, sc into the next ch-1 space. After the last interior space, ch 1 and make the last sc into the edge space formed by the previous starting chains. You have five sc again.
Repeat the same row
Chain 2 and turn. Repeat row two, always placing sc in the spaces and leaving a chain over each skipped sc. Put a marker in each edge space so the final insertion does not disappear into the side of the fabric.

Check the repeat before working further
Lay down the sample after four rows. The sc posts should alternate sideways instead of stacking in straight columns. Each interior chain sits above a skipped sc. Count five sc in every row, with four chain-1 openings between them and an edge space for the following row’s last stitch. Counting only the holes and forgetting the edge is a common source of an apparent missing repeat.
Why the edge can grow or shrink
A row becomes short if the final sc is omitted from the turning-chain space. It grows if an extra sc is worked into both the last actual stitch and the edge space. Locate the prior row’s edge marker, unfold the chain gently and inspect it before inserting. If the row is already wrong, undo to the last sound repeat. Adding a stitch at the next edge hides the count error without restoring the staggered structure.
Tension and finishing
If it feels difficult to insert into every space, check whether your chain-1 is much tighter than the sc. Make the chain on the full hook shaft and relax the strand between motions. Do not enlarge only the holes with force. Chain spaces also make moss stitch gauge different from plain sc gauge. Finish the sample by drawing a cut tail through the last loop, weaving ends within solid stitch sections, and washing as the yarn label permits. Measure dry, without pulling the holes open.
Add color only after the repeat is stable
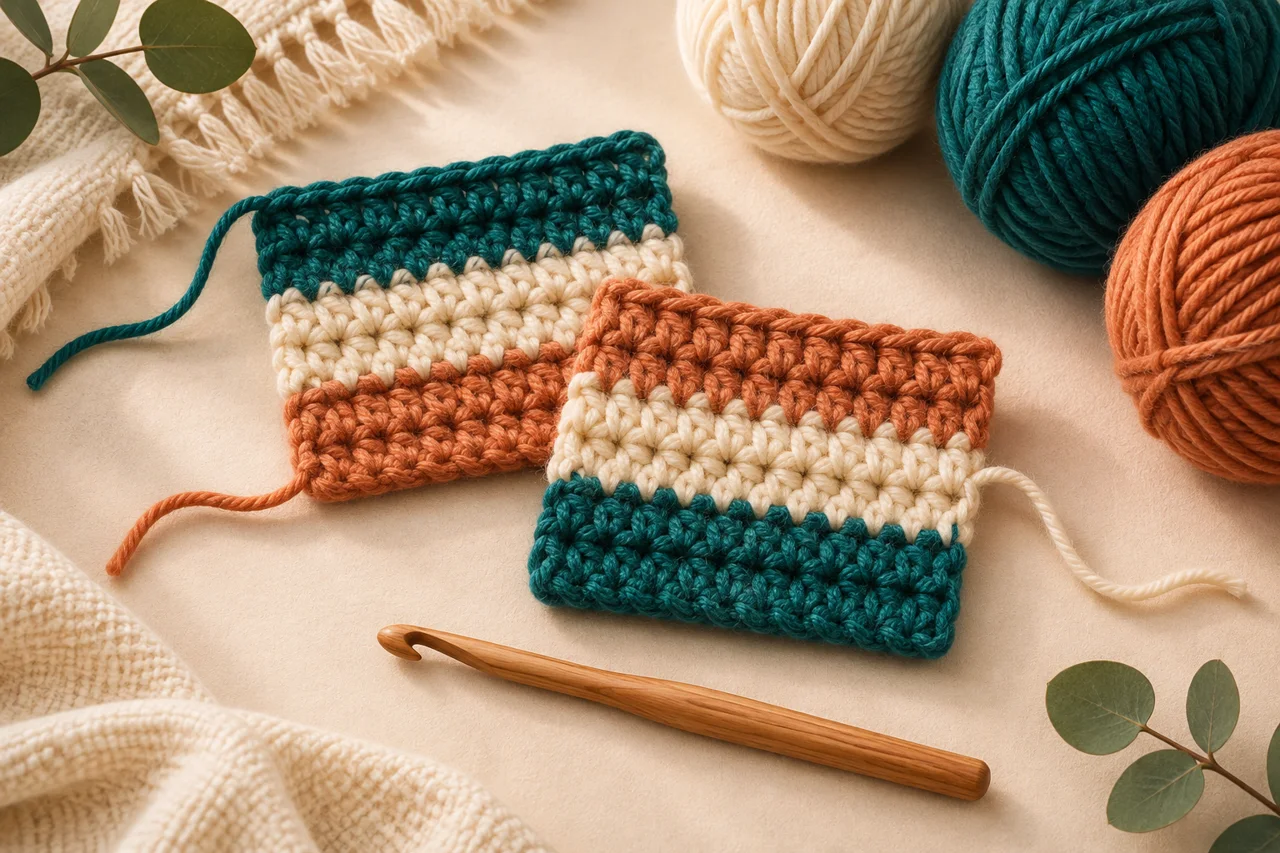
For a new stripe, finish the final sc of the old row with the new color, then chain 2 in the new color and turn. Leave both tails for secure weaving; do not clip them at the join. Single-row stripes place ends at alternate edges. Practise the plain sample first so a color change cannot disguise a missing edge space. Use the gauge calculator with the repeat and edge allowance required by the project, rather than assuming a plain sc chain count will fit.
Start with your swatch.
Estimate starting chains and fit them to a stitch-pattern repeat using your measured gauge.
Explore the planning toolSources & editorial notes
- Daisy Farm Crafts / Tiffany: Fall Colors Moss Stitch Blanket (stitch construction only) — https://daisyfarmcrafts.com/fall-colors-moss-stitch-blanket/
- Craft Yarn Council: Single Crochet — https://www.craftyarncouncil.com/node/461
- Editorial review: primary sources accessed 13 November 2026; original practice examples and simplified schematics. No independent hands-on test or named expert review is claimed.