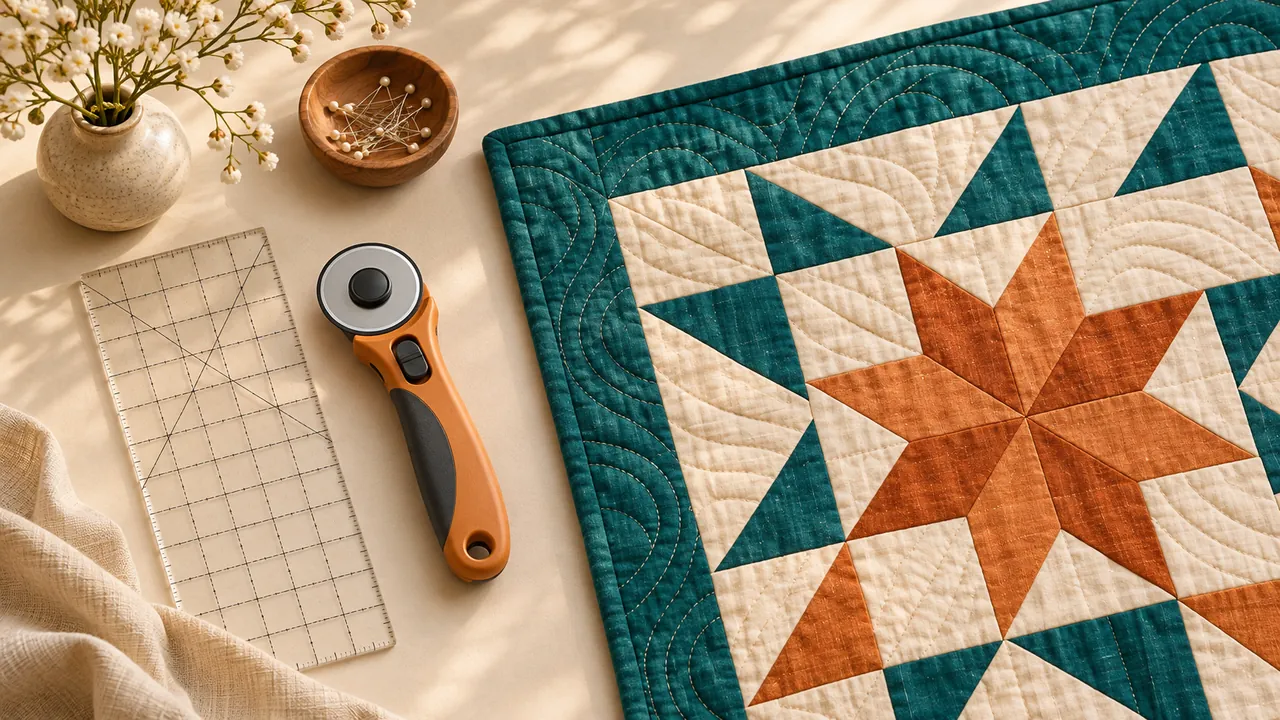
Half-Square Triangles: Two- and Eight-at-a-Time Planning
For the traditional exact-size two-at-a-time method, start with squares at finished HST size + 7/8 inch.
In this guide
For the traditional exact-size two-at-a-time method, start with squares at finished HST size + 7/8 inch.
| Finished HST | Trim unfinished unit to | 2-at-a-time: cut 2 squares | 8-at-a-time: cut 2 squares |
|---|---|---|---|
| 2 inches | 2.5 inches | 3 inches | 6 inches |
| 3 inches | 3.5 inches | 4 inches | 8 inches |
| 4 inches | 4.5 inches | 5 inches | 10 inches |
| 5 inches | 5.5 inches | 6 inches | 12 inches |
Choose the batching method
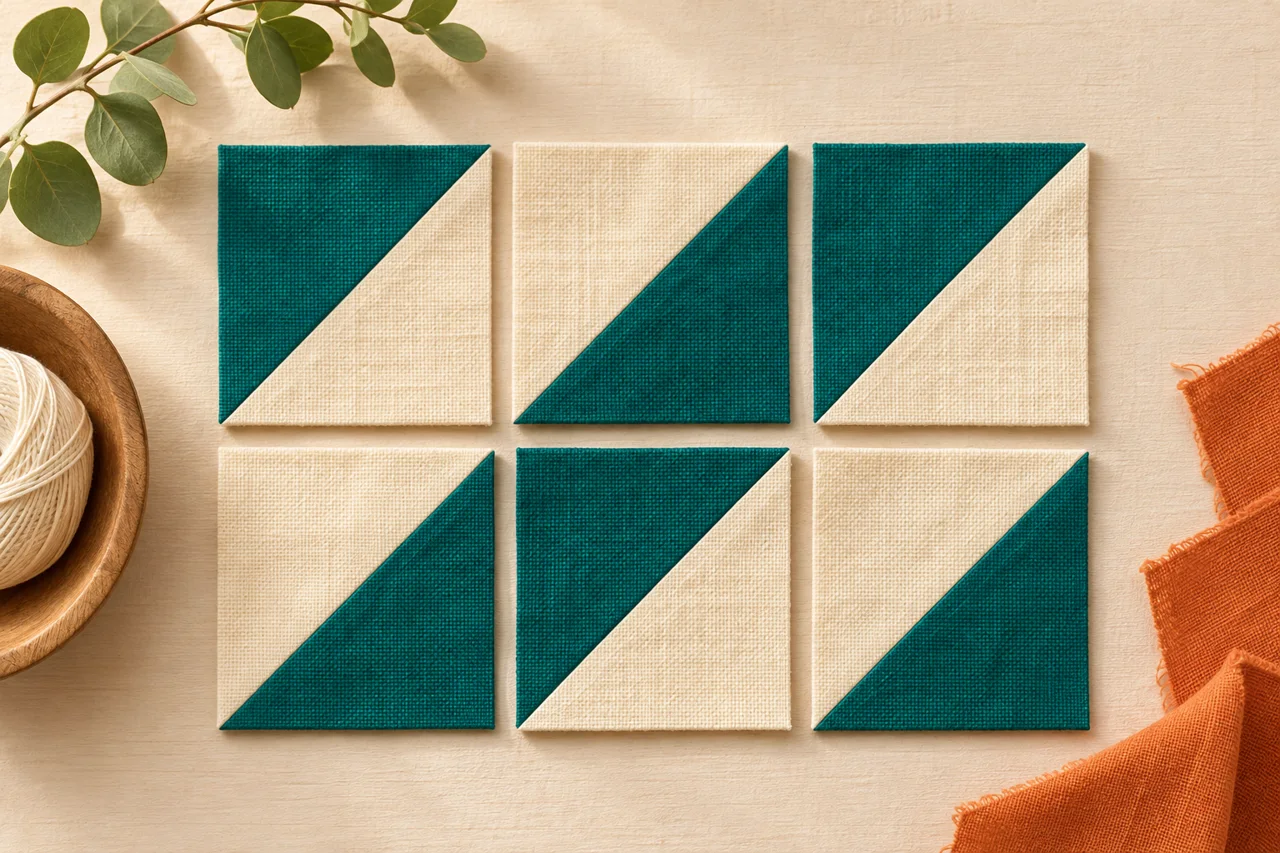
Use two-at-a-time for a small count or many color pairings; each pair of equal starting squares yields two HST units. Use eight-at-a-time when eight units of the same color pairing are useful; it batches seams efficiently but may leave more spares. Both methods here start with paired squares right sides together and use ¼-inch seams. Tools: contrasting stable fabric, ruler with a 45-degree guide, marking pencil, cutting equipment, sewing machine and iron.
Three sizes, three jobs
Finished size is what remains visible after the HST is joined into a block. With 1/4-inch outer seams, the unfinished unit is 1/2 inch larger in each dimension. Starting squares depend on the construction and trimming margin. The examples above deliberately include extra fabric and should not be mixed with exact-cut instructions.

Make two at a time
Mark and sew
Layer two contrasting squares right sides together. Mark one corner-to-corner diagonal. Sew 1/4 inch on both sides of the line using your tested seam setting.
Separate and press
Cut on the line to make two units. Press without dragging the iron along the diagonal.
Trim
Align the ruler’s 45-degree line with the diagonal seam and trim to the required unfinished size. Rotate and check the other edges before cutting.
Make eight at a time
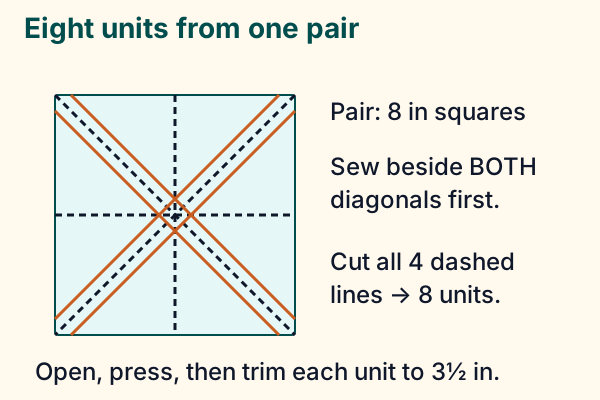
Mark both diagonals on one large square and layer it right sides together with its partner. Stitch on both sides of both diagonals. Cut through the center vertically and horizontally, then along the diagonals. Open, press and trim each unit. For the trim-friendly method in this chart, each large starting square is 2 × (finished size + 1 inch). For a 3-inch finished unit, that is 8 inches. Do not use the smaller traditional exact-cut value while expecting the chart’s trimming margin.
Trim in a controlled order
Let the units lie flat after pressing. Place the ruler’s 45-degree line on the diagonal seam and ensure the intended unfinished square fits inside the fabric on every side. Trim two adjacent edges. Rotate the unit, align the freshly trimmed edges with the target size marks, keep the 45-degree line on the seam and trim the remaining edges. For a 3-inch finished HST, stop at 3½ inches unfinished. Do not cut to 3 inches now: that would leave only 2½ inches after assembly.
Test before batching
Make one set and check the unfinished size. A wide seam or stretched diagonal can leave a unit too small; trimming cannot restore missing fabric. Preview directional prints and keep the method consistent throughout the block.
Count pairs as well as units
For 18 units in one color pairing, eight-at-a-time needs ceil(18 ÷ 8) = 3 pairs of large squares: six squares total, producing 24 units and six spares. Two-at-a-time needs nine pairs: eighteen smaller squares, producing exactly eighteen units. Group the actual color pairs separately; combining three red/cream units with fifteen blue/cream units requires a different cutting list. Mark the unfinished target on your project sheet so it survives the change from cutting to piecing.
Plan beyond the quilt top.
Compare backing layouts with your fabric width, seam allowances and chosen overage.
Explore the planning toolSources & editorial notes
- AQS / BERNINA WeAllSew — Half-square triangles — https://weallsew.com/wp-content/uploads/sites/4/2021/02/AQS-Quilting-with-Triangles-Beginners-Series-Lesson-2.pdf
- Penny Spool Quilts — Eight-at-a-time HST tutorial — https://www.pennyspoolquilts.com/blogs/blog/half-square-triangles-eight-at-a-time-tutorial
- AQS — Seam allowance and sewing patchwork — https://www.americanquilter.com/wp-content/uploads/2025/09/lets-quilt-beginners-series-lesson3.pdf
- Sources checked 13 November 2026. Original arithmetic and schematic teaching diagrams; hypothetical samples are identified. No independent hands-on craft testing, product performance testing or named expert review is claimed.